This guide will help you how to Create a Website using the website999 Website builder.
Login in to Control Panel
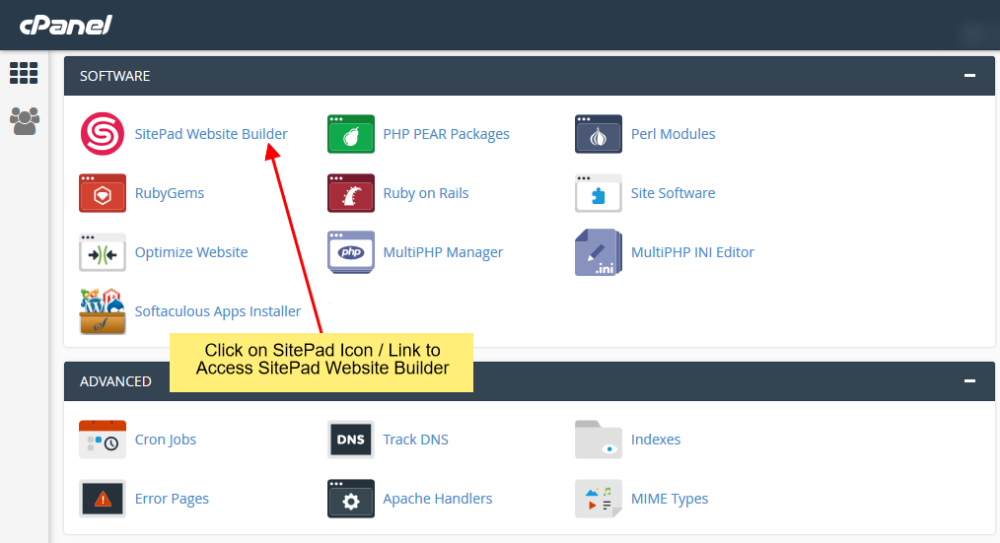
Firstly Login to your Control Panel (e.g. cPanel’s URL will be https://domain.com:2083) and login with your details. There click on the website999 Icon or Link.
You will be redirected to website999 Website Manager.
Create A New Site
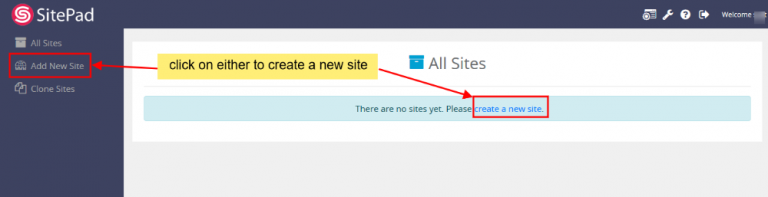
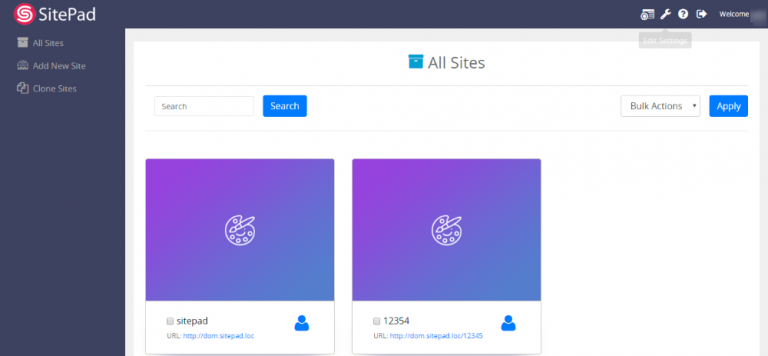
Once you are redirected to website999 Website Manager. You will need to create a new site.
You can click on either option to create a new site.
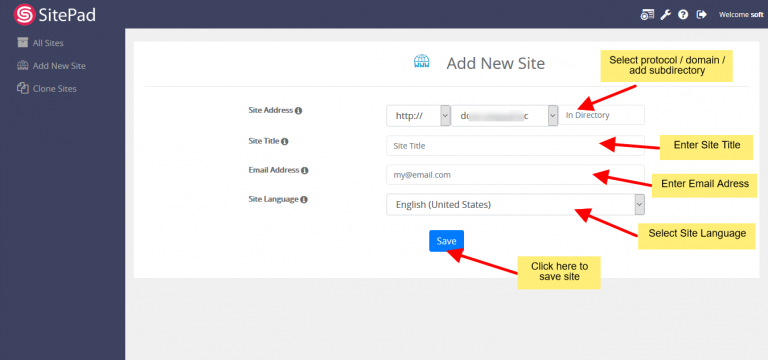
Select Protocol and Domain for your new website and then add a new directory. Next, you need to Enter the Site Title and admin email. You can also select the language of your new site. And then click on the Save button.
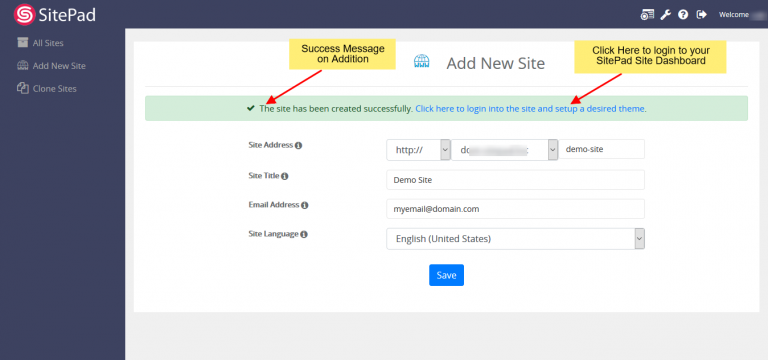
Once the website is added Successfully you will see the success message asking you to login to the new site and set up the desired theme for the new site.
Setup the Site
Once you are login Successfully to your new site. You will need to complete the setup process to set up your site.
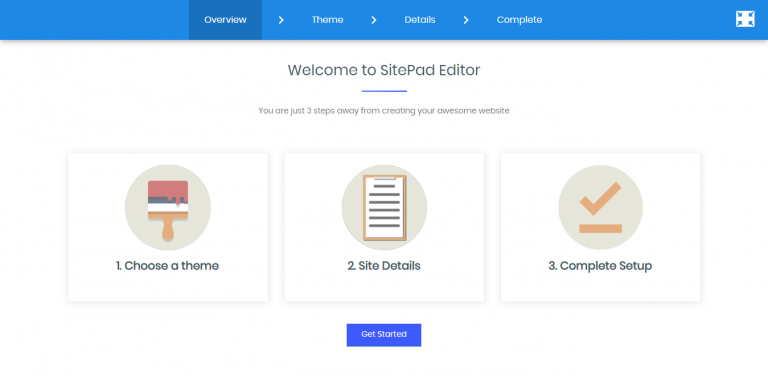
After successful login, you can see the welcome page of SietPad editor. Click on the “Get Started” button to proceed to the next level.
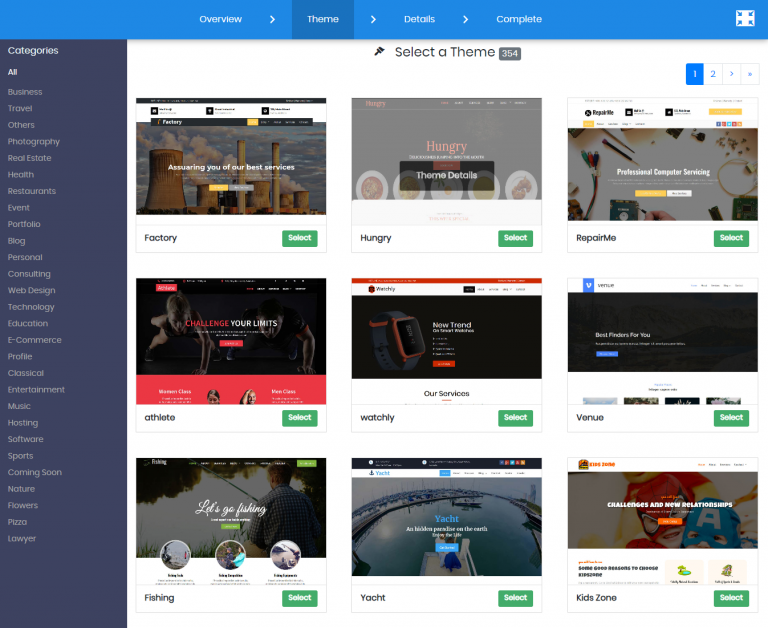
Now you will need to select/choose a theme for your website. You can also search for a Theme through Theme Search Option. Checkout Theme details. Once you find a theme suitable for your website you can click on the Select button to set the theme as a default theme for your Website Editing.
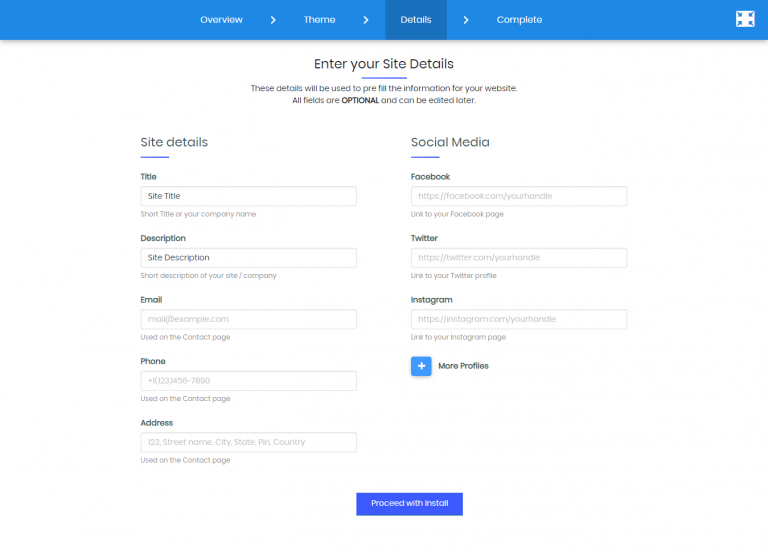
In the Details level, you need to fill the site details as well as you can enter the social media URLs, all these details will be replaced with the dummy details of the theme you choose. After filling all these details you need to click on the “Proceed with Install” button to proceed to the last level.
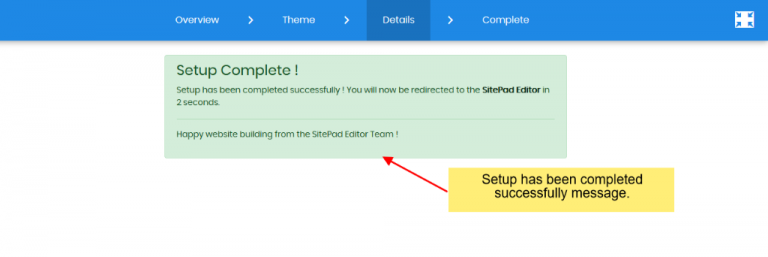
Finally, you have successfully set up the site, This is the last level of the entire setup process. Once you hit this level, you will be automatically redirected to the “website999 Editor” within 5 seconds.
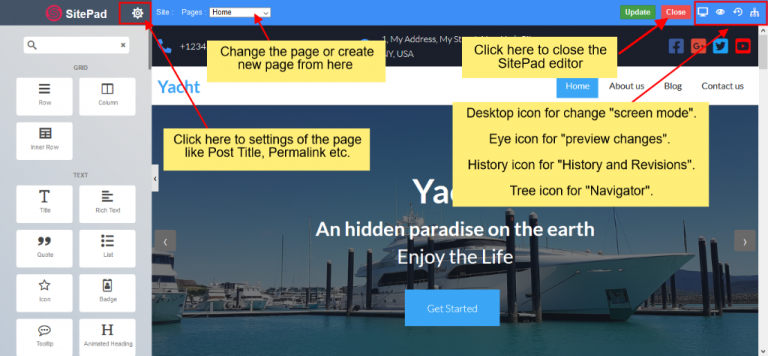
After redirecting, you will see the Home page of your website in the edit mode of website999 Editor. Now you can start editing your website Home page and also you can close the website999 Editor using the close button. After clicking the close button, you will redirect to the website999 Dashboard.
Adding/Editing Pages
You can now add new pages or Edit pages for your website.
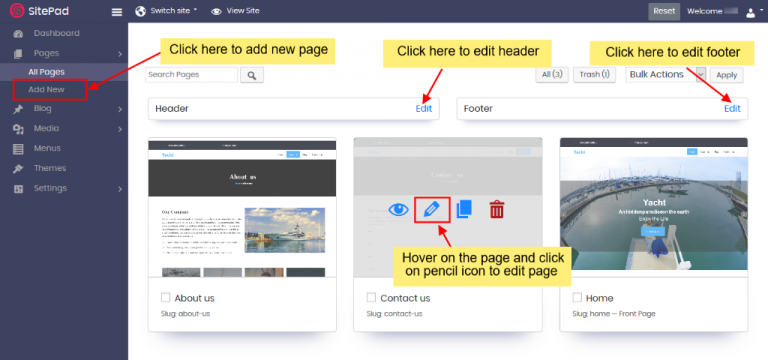
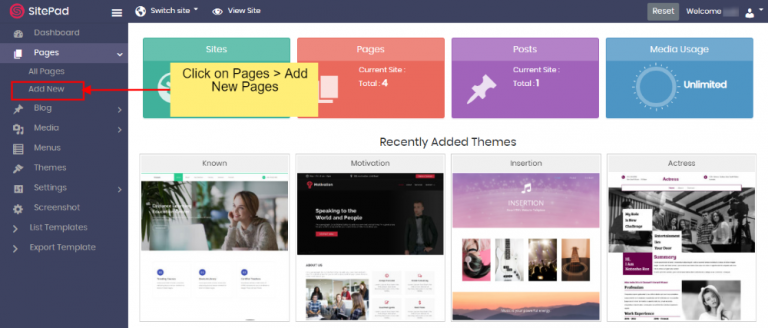
Click on Pages option to Select “Add Page” or “All Pages”. When you select All Pages you can see certain options such as Edit Page, Delete Page, View Page, etc.
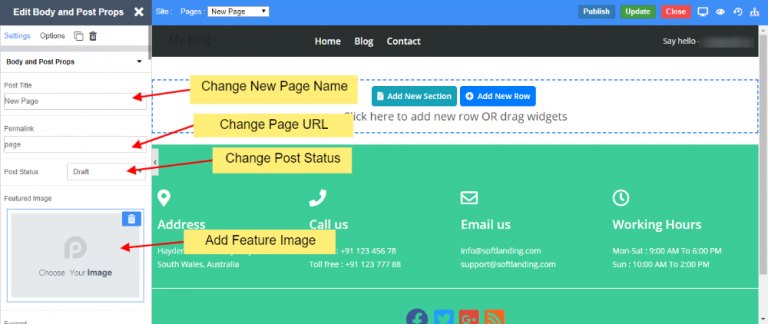
If you Select to Add New Page/Edit Page option. Then you will be redirected to Edit Page where you can Edit Page. If you select to Add new Page the page title will be New Page and Page URL will be Page and Post Status will be draft. You can change all the (like Page name and URL ) as per your wish and to publish your post, you need to change the status of the post from the draft. By default, the new page gets Added on the Menu Bar once you update the Menu Name changes to that of the Page Title.
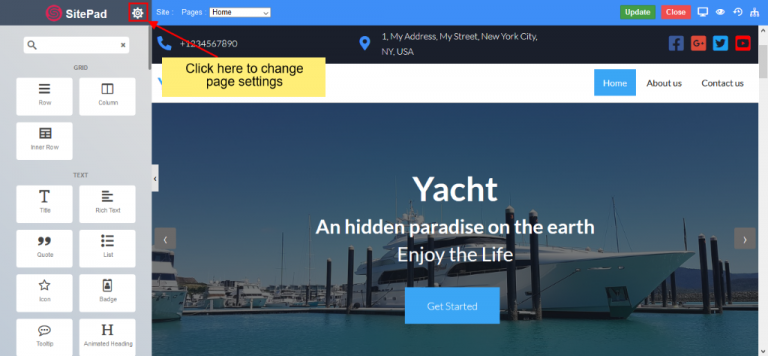
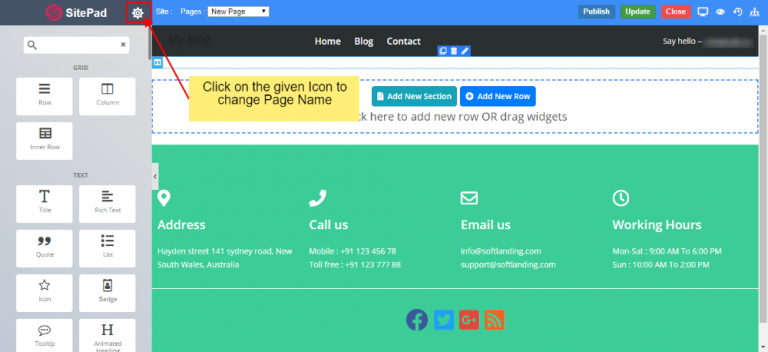
Click on Settings Icon to update Page settings.
You will find options such as
Add/Update Page Name
Add/Update Page URL
Add/Update Page status
Add/Update Feature Image
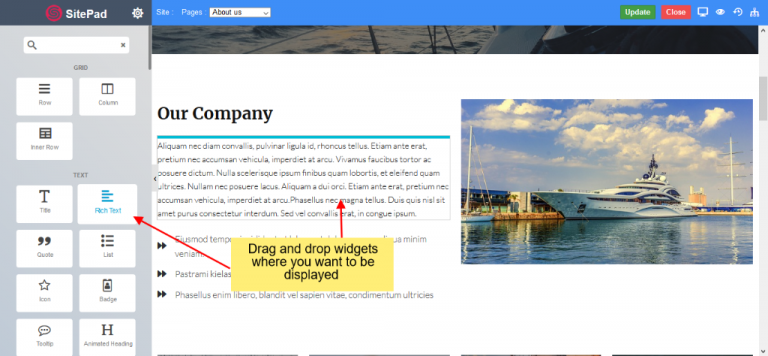
You can also drag and drop different Widgets where ever you want to see the elements. There are many different Widgets like Title, Paragraph, Slider, Service Box, Rich Text, Images, Videos, etc.
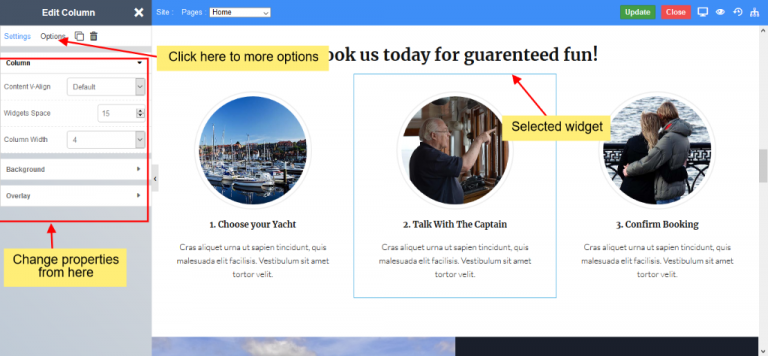
When the item is dropped on a particular position, to Edit you will be able to see properties bar, Advance Option to Customize, etc. for different types of Widgets.
Property Bar for the dragged widget
Start editing widgets
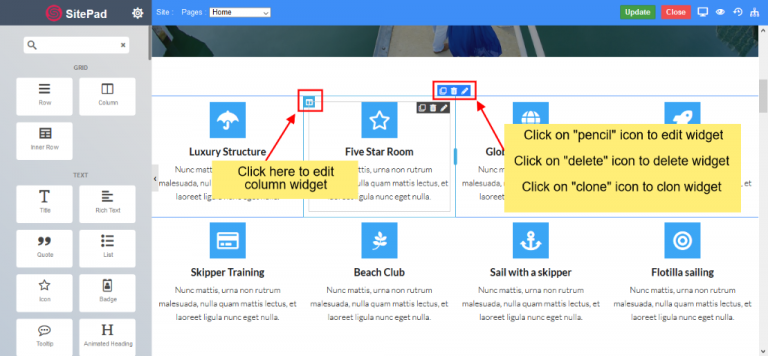
To edit any widget, you need hover on that widget. After hovering, you will be able to see the edit, delete and clone icons.
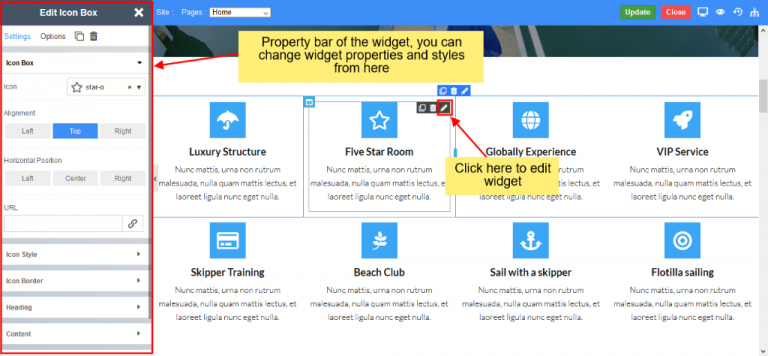
To edit widget properties and styles, you need to click on the pencil icon. After clicking on the pencil icon you will be able to see properties bar on the left side. You can change the widget properties and styles as you require.
You can select from a different range of 65+ Widgets.
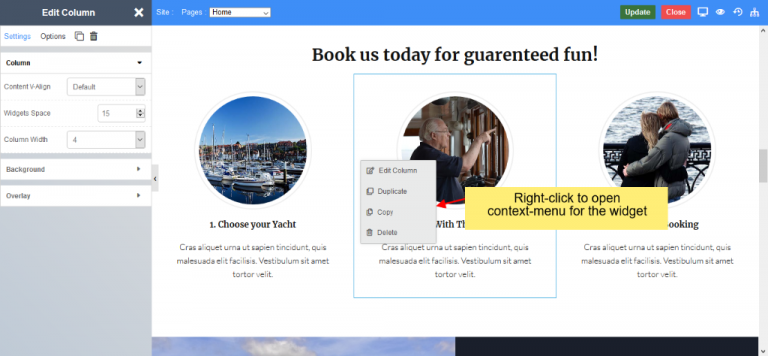
Edit, Duplicate, Copy, Delete a widget
Right-click on the widget to see more options like edit, duplicate, copy, delete, etc.
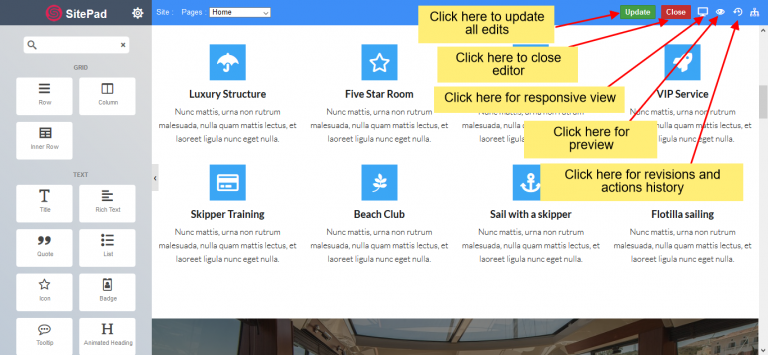
Update page
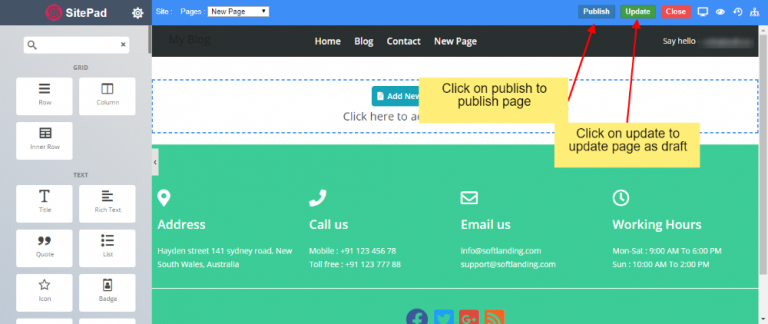
After you Finish Editing your work you can Update your Page Changes.
You can find these Finishing Option on the upper right corner of the editor.
After you click on the Update button you will see alter of save successfully.
Add New Page
This documentation will highlight how to Add a New Page.
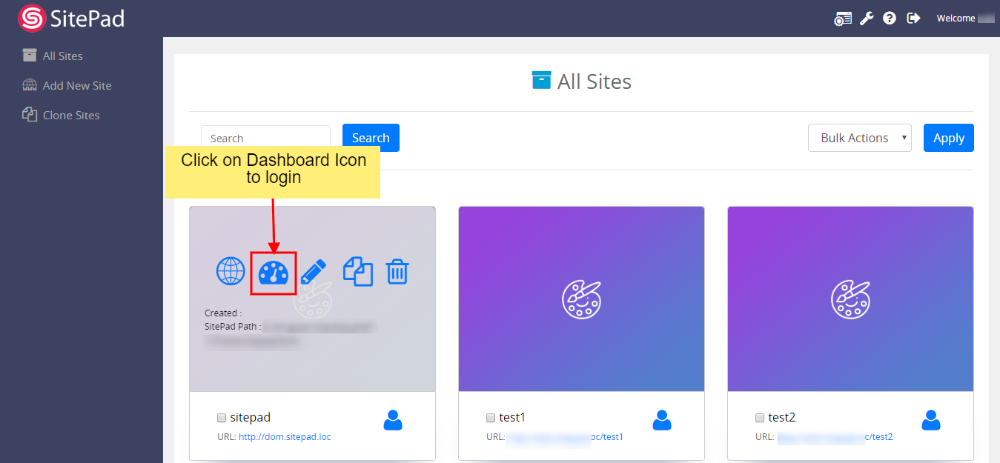
To Add New Page you will first need to access SitePad Website Dashboard if you have not logged into SitePad yet. (Skip this step if you are already logged into SitePad Dashboard)
Now click on Dashboard Icon to access SitePad Dashboard. (Skip this step if you are already logged into SitePad Dashboard)
You will be redirected to SitePad Dashboard, Click on Pages then click on Add New Page.
On click of Add New Page, you will be redirected towards the new page where you can create your new page with our Brand New Editor
Click on Settings Icon to update Page settings for the current page.
You will find options such as
Add/Update Page Name
Add/Update Page URL
Add/Update Page status
Add/Update Feature Image
Once finished you can click on the Update button to update the page or Publish button to publish the content of the page.
Add New Post
On this page
Overview
Add New Post
Post Settings
Publish / Update
Overview
This documentation will highlight how to Add a New Blog post. To Add New Blog you will first need to access SitePad Website Dashboard if you have not logged into SitePad yet. (Skip this step if you are already logged into SitePad Dashboard). Now click on Dashboard Icon to access SitePad Dashboard.
Add New Post
You will be redirected to SitePad Dashboard, Click on Blogs then click on Add New.
On click of Add New, you will be redirected towards the new blog post where you can create your post with our Editor. You can drag and drop stuff from here to the post content area.
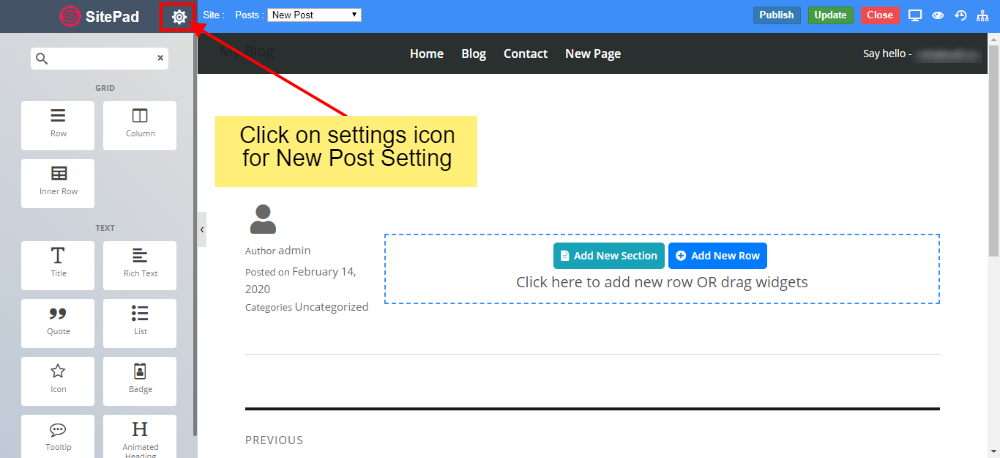
Post Settings
Click on Settings Icon to update Blog Post settings for the current Post.
You will find options such as
Add/Update Post Name
Add/Update Post URL
Add/Update Post status
Add/Update Post Feature Image
Add Excerpts to Post
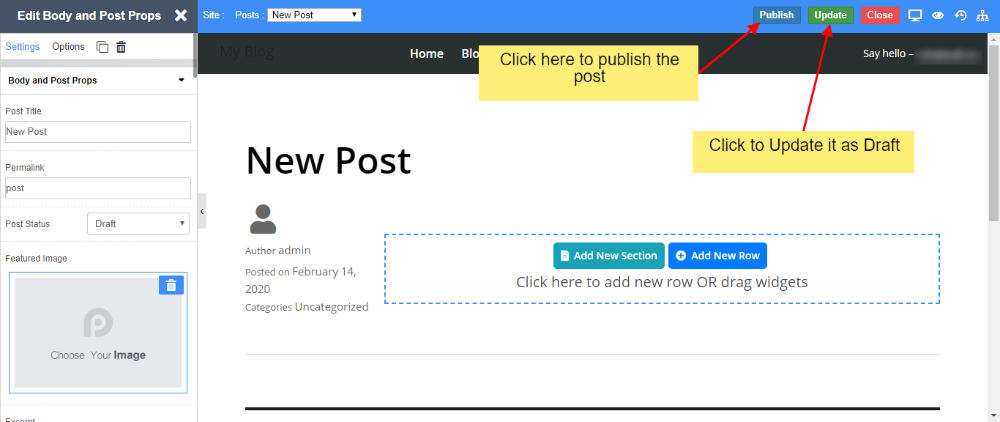
Publish / Update
Once you have edited the post, you can go ahead and publish it or save it for later. If the post is already published, you can update the post as well.
Once finished you can click on the Update button to update the post or Publish button to publish the content of the post.
Understanding Rows and Columns
On this page
Overview
Rows
Columns
Overview
In this documentation, we will try to understand what is the difference between rows and columns.
Sitepad follows the same rule as the Bootstrap grid system which provides a quick and convenient way to create responsive website layouts.
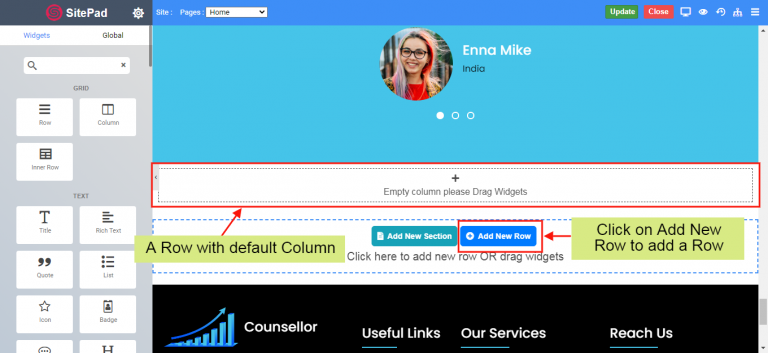
Rows
Rows are wrappers for columns in which you can add your widgets. A row can contain max up to 12 columns. Each column space is adjusted as per the number of columns in the given row.
In Sitepad you will need to click on Add New Row or drag and drop Row widget to add new widget via columns. Sitepad adds a default column in each row which is created.
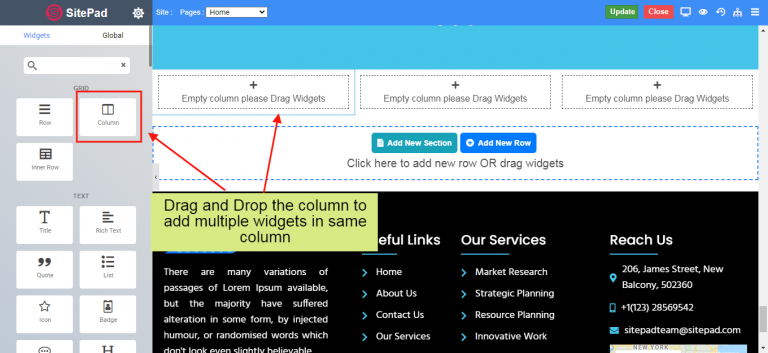
Columns
Columns in PageLayer are used to add widgets. You will require a column to add a new widget. Using Drag and Drop without any column will not add the widget to the page.
In Sitepad you will need to drag and drop the column in a given row to add multiple widgets.
Shopping Basket
Stay Inspired.
We're Here To Make Your Website.
Design tips, trends, and ideas — in your inbox.
Join who get exclusive design insights in their inbox.